Creating an Account
Welcome to King's Domain! Your journey begins on our dashboard. This guide will walk you through creating an account, verifying it, and linking your Discord profile, which is required to use our services.
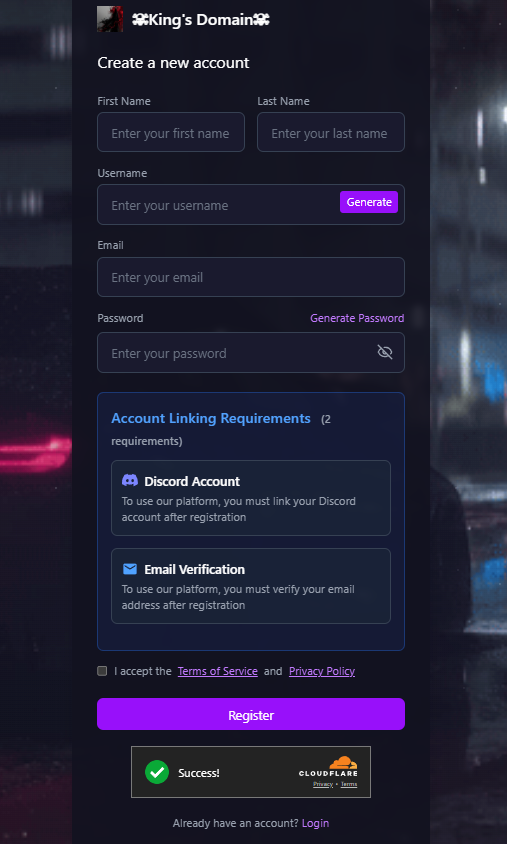
Step 1: The Registration Form
- Navigate to the dashboard at dash.kingsdomain.uk.
- From the login screen, click the "Register" link at the bottom.
- Fill in your details: First Name, Last Name, and a valid Email address.
- Choose a unique username. Usernames must be compliant with Pterodactyl's requirements. Username Rules: Your username must only contain letters, numbers, and the symbols
_,-, or.. No spaces or other special characters are allowed. - Create a strong password. You can use the "Generate" button or create your own. Creating a Secure Password: A strong password is your first line of defense. It should be long (at least 12 characters), and include a mix of uppercase letters, lowercase letters, numbers, and symbols (like
!@#$%). Avoid using personal information like your name or birthday. - Read and accept the Terms of Service and Privacy Policy.
- Before clicking Register, wait for the Cloudflare Turnstile widget to show a green checkmark. You may need to click it manually.
- Click the "Register" button to create your account.
Step 2: Email Verification
After registering, you must verify your email address. We will send a verification email to the address you provided.
- The email will be from
no-reply@kingsnetwork.ukorno-reply@kingsdomain.uk. - If you don't see it within two minutes, please check your spam or junk folder.
- Click the verification link inside the email to activate your account.
Step 3: Login & Link Discord
- Once verified, return to the dashboard and log in with your username/email and password.
- You will now be prompted to link your Discord account. This step is mandatory.
- Click the button with the Discord logo. You will be redirected to Discord's official website.
- Authorize King's Domain to access your Discord account information.
- You will be redirected back to the dashboard. Your account is now fully set up and ready to deploy servers!
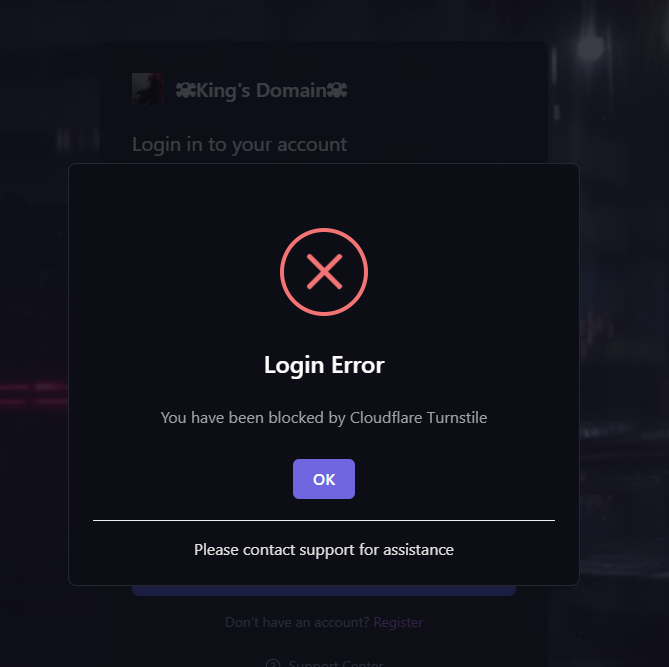
Common Registration Issues
This error appears if you click "Register" or "Login" before the Turnstile security check is complete. Always wait for the green checkmark before proceeding.
The "Continue with Discord" button will only work *after* you have created a King's Domain account and linked it from the dashboard settings. Attempting to use it before registering will result in an error.
Claiming a Free Server
Once your account is set up, you can deploy your first free server. The process is a simple 5-step wizard on the dashboard.
Finding the "Create Server" Button
In the dashboard, look for the main navigation sidebar on the left. Click on the "Create Server" button to begin.
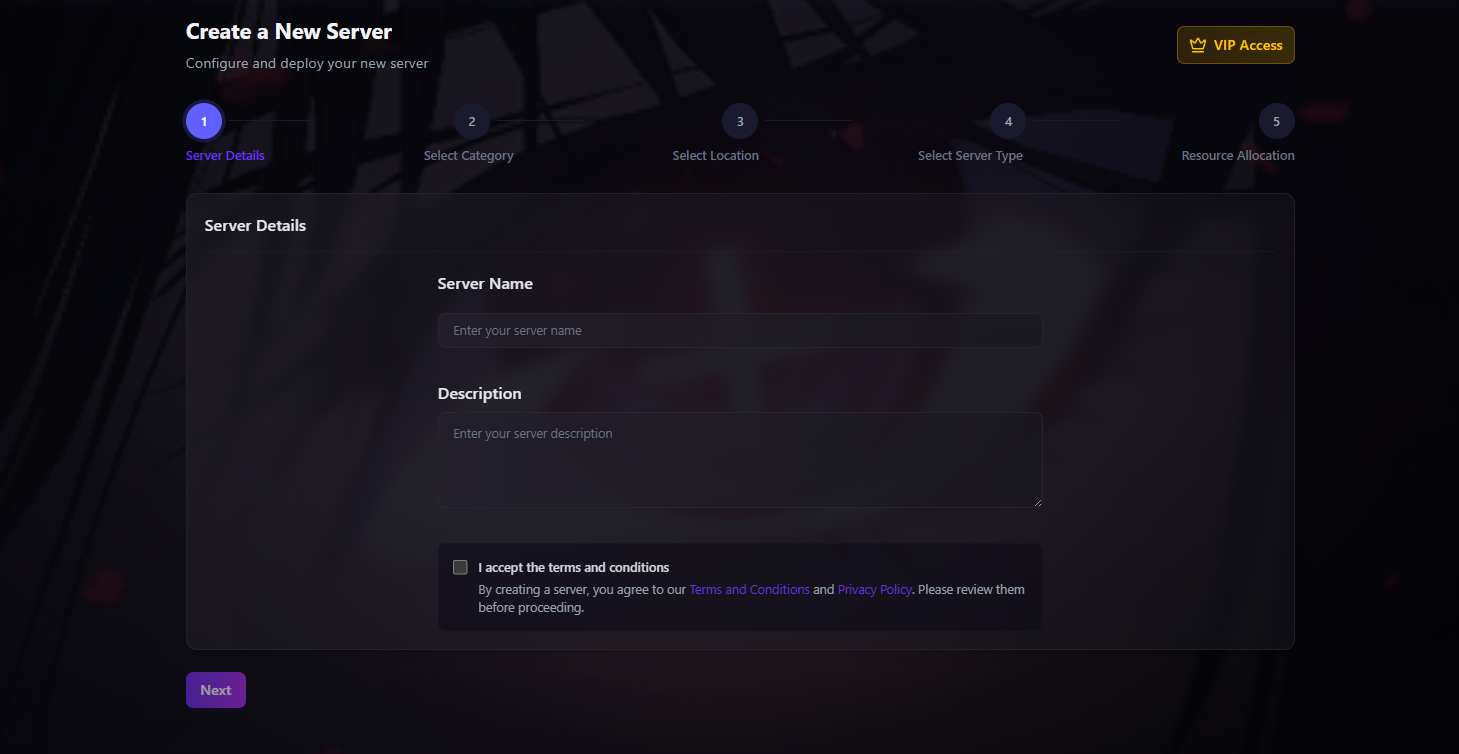
Step 1: Server Details
This first screen is where you give your server its identity.
- Server Name: Choose a name for your server. This will be visible to you in the panel.
- Description: Provide a brief, sensible description of your server's purpose.
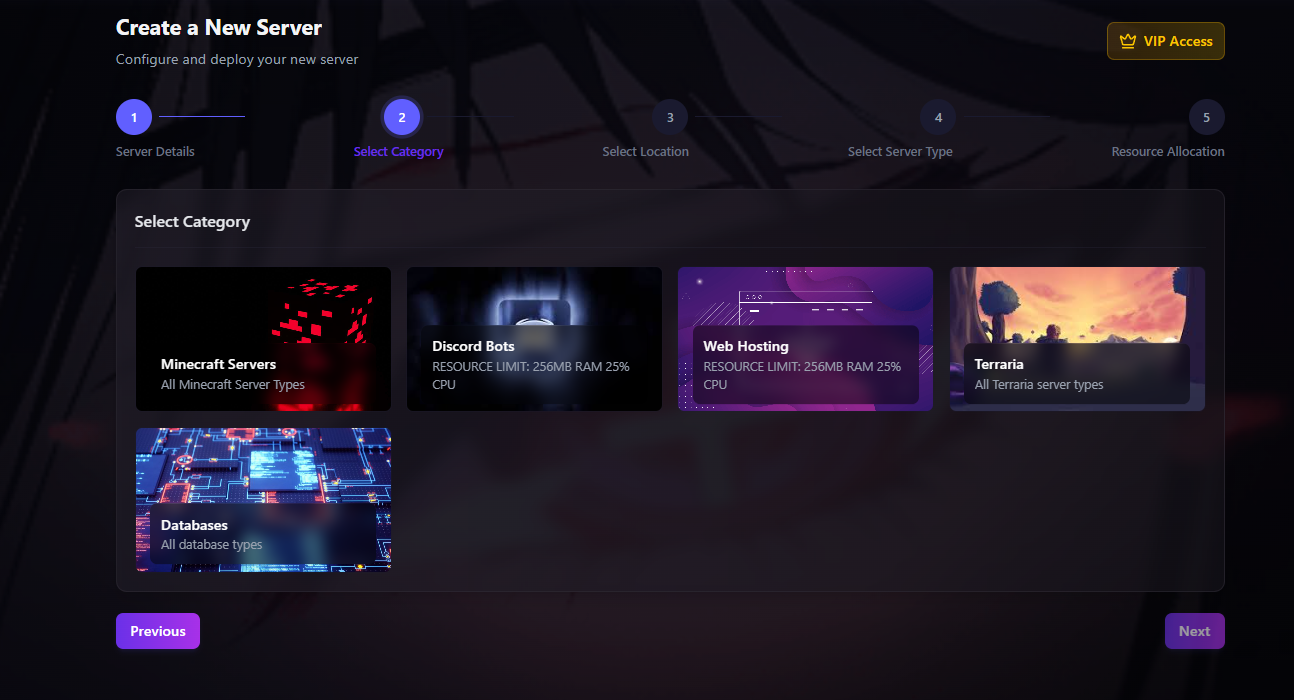
Step 2: Select Category
Next, choose the general type of service you want to host. The options available may change over time, but will include categories like Minecraft, Discord Bots, Web Hosting, and more.
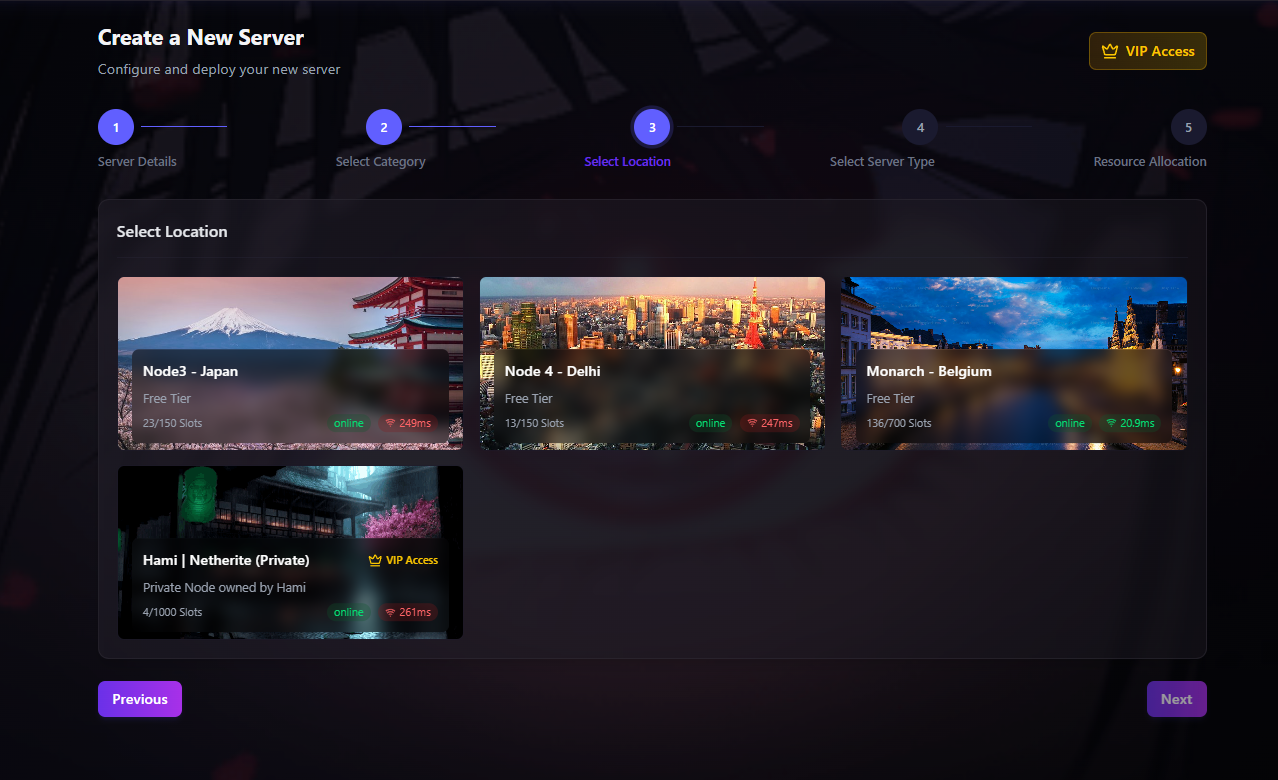
Step 3: Select Location
Choose the physical location where your server will be hosted. We recommend selecting the node with the lowest latency (ping) for the best performance.
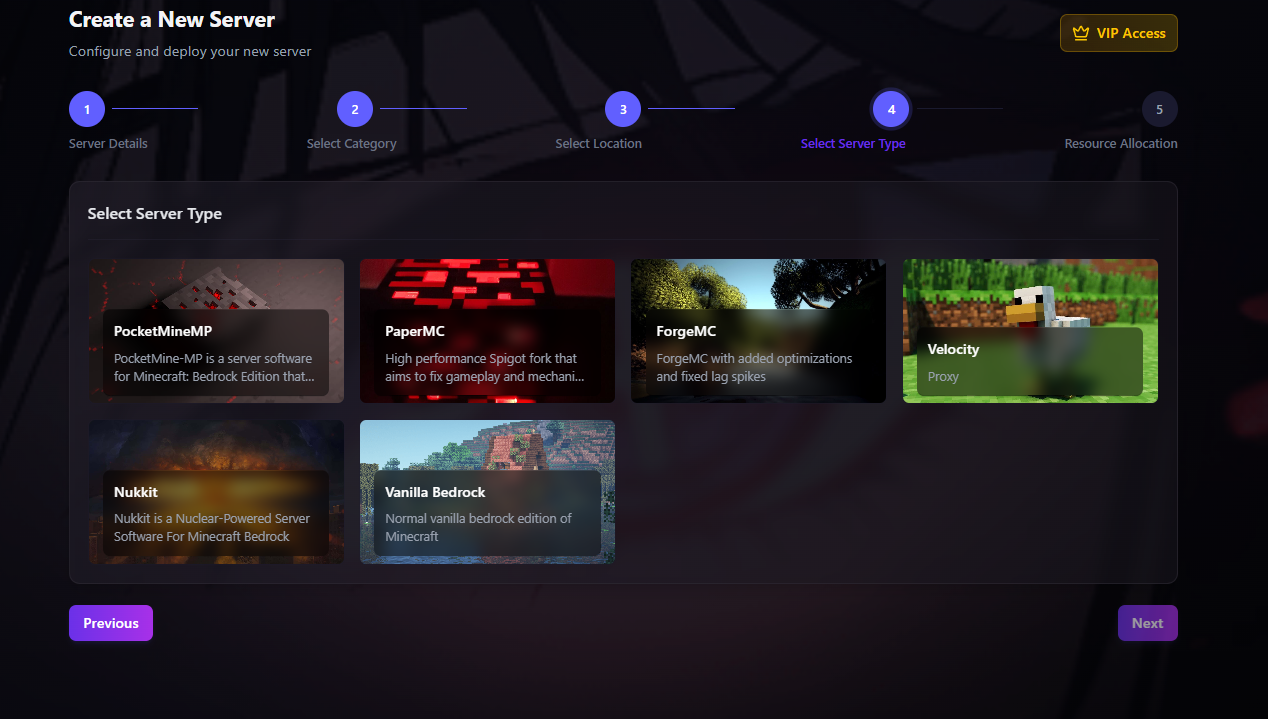
Step 4: Select Server Type
Within the category you chose, select the specific software you want to run. For example, if you chose Minecraft, you might see options like PaperMC, Forge, or Velocity.
Read the description for each type carefully, as some may have specific requirements or restrictions.
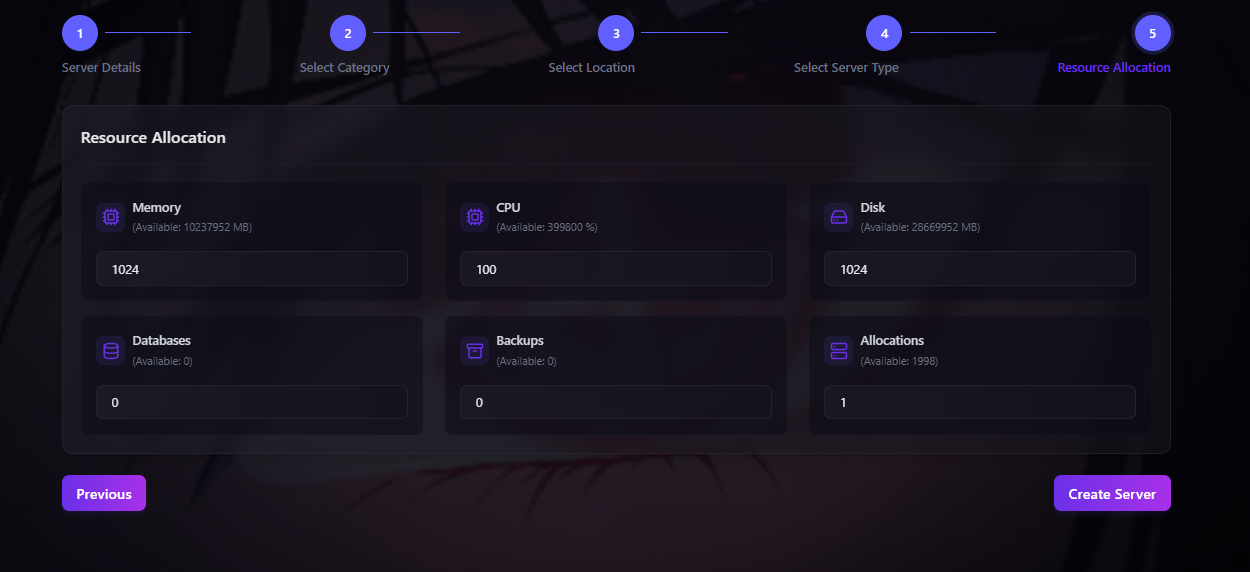
Step 5: Resource Allocation
Finally, allocate the resources for your server, such as Memory (RAM), CPU, and Disk space. The available amounts will depend on your plan (Free Tier or paid).
Once you've set your resources, click "Create Server" to send it to the deployment queue!
Important Rules & Limits
To ensure a fair and stable environment for all users, we enforce a strict set of rules. All services are monitored by our proprietary automated system, Silent Stalker, which actively prevents abuse.
The Silent Stalker System
Silent Stalker is our custom-built, proprietary automated security system that monitors all servers and network activity in real-time. It uses a vast, constantly updated database of known abuse patterns to detect any form of ToS violation, resource abuse, or malicious activity.
- Its goal is to automate abuse prevention, ensuring platform stability and security.
- If Silent Stalker detects a violation, it will immediately suspend the offending server(s).
- The case is then flagged for an administrator to review, which may lead to a permanent account action, such as a blacklist.
Resource Limits (Free Tier)
- Bot & Web Hosting: Strictly limited to 256MB RAM and 25% CPU usage.
- Minecraft Servers: No hard CPU or RAM limits, but are still monitored for excessive, disruptive usage.
- Network: While there are no hard bandwidth caps, services causing network instability will be suspended.
- Databases: There are no limits on the number of databases you can create.
Strictly Prohibited Activities
Engaging in any of the following activities will result in immediate suspension by Silent Stalker and a likely account termination:
- Creating Alternate ("Alt") Accounts: Each user is permitted only one account. Circumventing this is strictly forbidden.
- Cryptocurrency Mining: Running any form of crypto miner or related software.
- Malicious Network Activity: Launching DDoS attacks, port scanning, phishing, or any form of cyberattack from our services.
- Hosting Illegal Content: Hosting or distributing copyrighted material without permission, or any content that violates local or international law.
- Resource Abuse: Intentionally running scripts or applications designed to lag or crash a node.
We have a zero-tolerance policy for users who repeatedly create alt accounts. However, we offer a one-time leniency path: if you have created an alt account and come forward to our staff voluntarily, we will delete the alternate accounts and unsuspend your main account. If you are caught a second time, it will result in a permanent, non-negotiable blacklist from all our services.
First Steps After Deployment
Congratulations on creating your new server! Once you click "Create Server," it enters a deployment queue. Here’s what happens next and what you should do once it's ready.
The Deployment Process
Your server will begin installing automatically. This process usually takes between 3 to 5 minutes to complete. You will receive an email notification as soon as your server is online and ready to be used. After deployment, you will be returned to the main dashboard page, where you will see your new server listed.
Managing Your New Server
On the dashboard, you will see a card representing your new server, which provides a quick overview and essential management tools.
Your Server Name
a1b2c3d4
Location
Monarch - Belgium
Egg
PaperMC
Memory
1 GB
CPU
100%
Disk
1 GB
Your First Launch Checklist
- Access the Control Panel: Click the purple "Panel" button on your server card. This will take you to the powerful Pterodactyl control panel at
panel.kingsnetwork.uk.Login Details: Use the same credentials you created for the dashboard. You must log in with your email and password, not your username. - Start Your Server: In the control panel, locate and click the "Start" button.
- Check the Console: Watch the live console as your server boots up. This is the most important step to ensure everything is working correctly. If you see any red
[ERROR]messages, it indicates a problem that needs to be addressed. - Find Your Connection Details: Once the console indicates your server is online and ready (e.g., for Minecraft, it will say "Done!"), find your server's IP address and Port on the panel's main page. Use these details to connect to your game or service!